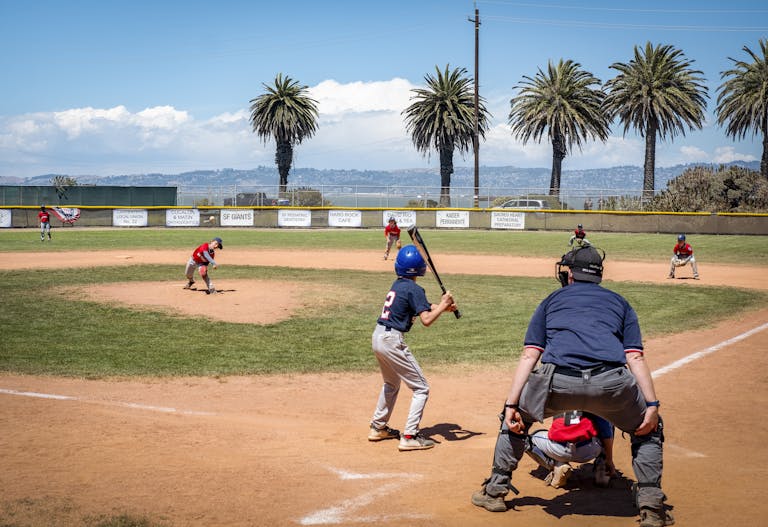
The Ultimate 7-Step Guide to Prepping Your Little League Field
As we all know, the baseball game can’t start until the field is ready.
Unlike Major League ball parks with grounds crews, the preparation of the Little League field falls on the shoulders of the coaches, volunteers, and even parents.
A well-maintained field not only ensures a safe playing surface but also enhances the overall game experience for the players.
If you’re new to coaching and want a more efficient way to get the field ready before the first pitch, we’ve got you covered!
The Ultimate 7-Step Guide to Prepping Your Little League Field will walk you through the entire process, step by step.
Get your field game-day ready, so players can focus on what truly matters—playing ball!
This page contains affiliate links and I earn a commission if you make a purchase through one of the links, at no cost to you. As an Amazon Associate I earn from qualifying purchases.

1. Clear the Field
The first step? Start with a clean slate.
Walk the field and clear away any debris—rocks, sticks, or litter—that could pose a safety risk or distraction.
Don’t forget the dugouts! A clean and organized space sets the tone for the game. Pay extra attention to high-traffic areas like the bases and fence line, where debris tends to accumulate.
A clutter-free field reduces injuries and keeps players focused. Enlist your team’s help to make the process faster and more efficient.

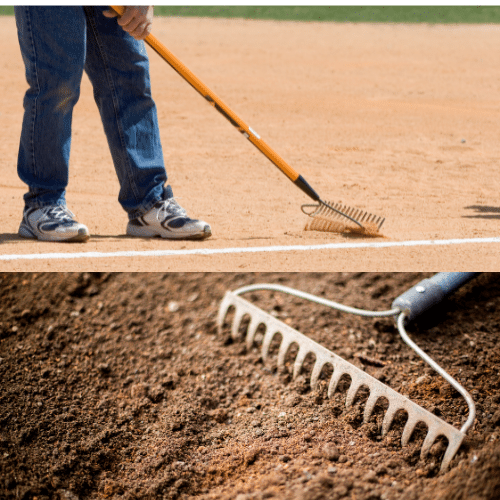
2. Rake and Smooth the Infield
Ever noticed how the best Little League fields have that pristine, freshly smoothed look?
That’s not magic—it’s the result of a hardworking rake and a little elbow grease.
Using a rake or drag mat, smooth out the infield dirt, also paying extra attention to high-traffic areas like home plate, and the the pitcher’s mound.
Filling in holes helps prevent bad hops and keeps the playing surface level.
For best results, rake in circular motions around the mound and base paths to distribute the dirt evenly.
Be careful not to pull too much dirt toward the edges, as this can create uneven playing conditions.
If needed, use a tamper tool to compact loose dirt for added stability.
3. Water the Dirt Areas (But Not Too Much!)
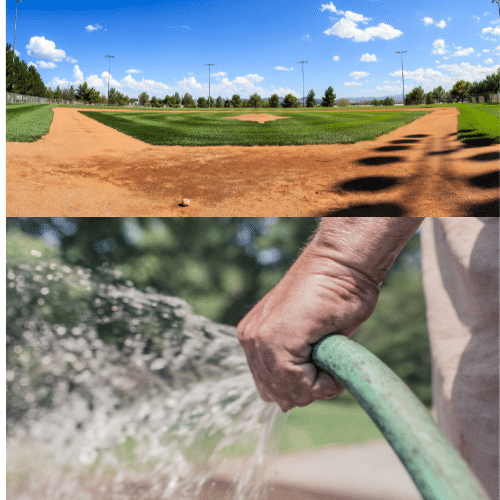
Lightly mist the infield dirt to control dust and keep the surface firm, but be careful not to overwater—puddles and muddy spots can create unsafe playing conditions.
The best approach is to water in layers, giving the dirt time to absorb moisture gradually.
If the field is especially dry, try watering a few hours before game time.
This allows the surface to settle while maintaining the right level of firmness for play.
4. Set Up The Bases
What’s a baseball game without bases?
Accurate base placement is crucial for both gameplay and safety.
Make sure all bases are correctly positioned and securely anchored.
Double-check that the base pegs are properly inserted to prevent any movement during the game.
Ensure all equipment is game-ready.

5. Chalk the Field Like a Pro
Nothing sets the stage for a game like the crisp, clean lines of home plate.
Accurate chalking of home plate ensures fair gameplay and a professional look. Here’s how to do it right:
Ensure the plate is centered properly on the field before chalking.
Tools You’ll Need
Chalking Steps
Start by using the template to mark the edges and depth of the home plate.
The template will leave an imprint in the dirt, which you can then use as a guide to chalk the batter’s box.
For the baselines, run a string from home plate to both the first and third base lines to help create a straight chalk line.

6. Prepare the Dugouts
A well-organized dugout helps players stay focused and ready for action.
Stay Hydrated: Provide water or sports drinks to keep the team hydrated throughout the game.
Minimize Clutter: Remove unnecessary items and ensure all gear is properly stored.
Designated Spaces: Assign spots for bats, helmets, and gloves to reduce chaos during the game.
Encourage Responsibility: Have players clean up after themselves to maintain order.

7. Post-Game Cleanup
Even after the final out, your work isn’t done. A well-maintained field requires proper care for the next game.
Post-Game To-Do List:
- Clean Up: Pick up trash from the stands, dugouts, and field. Encourage everyone—team and fans—to pitch in for a quick cleanup.
- Remove Bases: Store them safely to prevent damage.
- Rake the Infield: Smooth out any wear from sliding or running.
- Store Equipment: Properly put away tools like hoses, chalk liners, and other gear.
Note: In Little League, the home team typically prepares the field, while the visiting team handles cleanup after the game.

Frequently Asked Questions
How early should I start preparing the field before a game?
Ideally, start field prep 1-2 hours before game time to ensure everything is ready.
Why is it important to water the infield dirt?
Watering controls dust, firms up the playing surface, and reduces the risk of bad hops..
How can I ensure the bases stay in place during the game?
Use properly anchored base pegs and periodically check their stability through out the game.
How do I prevent chalk lines from smudging during the game?
Avoid over-chalking and mist the lines lightly with water to help them adhere to the surface.
Can I use regular chalk for the baselines?
No, always use athletic field marking chalk, as regular chalk can wash away or cause safety concerns.
Who is responsible for post-game field cleanup?
While the home team is usually responsible for preparing the field before the game. The visiting team is responsible for cleaning up the field after the game.
The Ultimate 7-Step Guide to Prepping Your Little League Field
Conclusion
A well-prepped field makes for a smoother, safer game and keeps your field in great condition all season. Whether you’re a coach or a volunteer, following these steps will ensure your team has a top-notch place to play.
Taking the time to prepare the field properly makes a significant difference in the quality of play and safety of the players. Whether you’re a coach, parent, or dedicated volunteer, following these seven steps ensures that your Little League field is always game-day ready.
Enter your CTA description here. Download our Printable Little League Field Prep Checklist and ensure your team plays on a safe and well-maintained field. Share this guide with your fellow coaches and volunteers today!
