What Are The 10 Solo Baseball Drills to Boost Your Skills in 2025?
It’s not always practical to practice your baseball skills with your team or a friend.
That’s where solo drills come in!
Whether you’re a beginner or an experienced player, practicing on your own can help you sharpen your technique, build muscle memory, and take your game to the next level.
In this guide, we’ll highlight 10 solo baseball drills that you can do anywhere—no team required. Ready to level up your baseball skills in 2025? Let’s go!
Ever watched an infielder snag a scorching line drive and wondered, “How on earth did they do that?” Well, folks, it’s not just natural talent – it’s the result of countless hours of individual drills. Let’s dive into some solo exercises that’ll turn you into a vacuum cleaner on the diamond.

1. Tee Work: Perfect Your Swing Mechanics
I know what you’re thinking—hitting off a tee might seem lame.
But don’t let its simplicity fool you; tee work is perfect for refining your swing mechanics.
The beauty of this drill lies in its ability to break down each part of your swing, helping you focus on critical areas like hip rotation and consistently hitting the sweet spot.
It’s all about building muscle memory, one swing at a time.
Adjust the tee’s height to simulate different pitch locations and sharpen your skills across the strike zone.
And remember, even MLB stars swear by the tee!
Pro Tip: Record yourself while practicing and analyze your swing. You might discover areas for improvement that you never noticed before.

2. Wall Ball: Your New Best Friend
Who needs a fancy training partner when you’ve got a wall?
Wall ball is fantastic for improving your fielding skills.
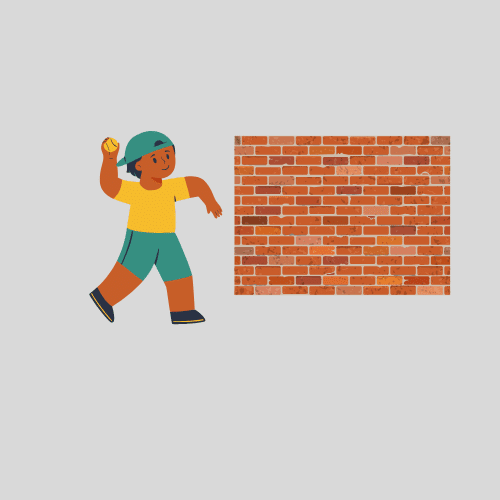
Picture yourself in your backyard, repeatedly throwing a ball against a wall and fielding the rebounds.
It may seem straightforward, but this drill is a powerhouse for sharpening reflexes and catching skills.
I used to do this with a tennis ball against our garage door, and it worked wonders!
Start by standing about 10 feet away.
Throw the ball against the wall and field the rebound.
Easy.
Now, mix it up: throw harder, throw softer, and add some spin.
Each variation simulates a different type of hit you might face in a game.
Before long, you’ll be snagging grounders and line drives like a pro.
Pro Tip: Try this drill with your glove on your non-dominant hand. It’s challenging, but it will do wonders for your coordination!

3. Barehand Drill: Feel the Field
The barehand drill is all about developing soft hands and enhancing hand-eye coordination.
Here’s how to do it:
uave a partner (or use a wall) toss you soft grounders. Your job is to field them with your bare hands. It might feel awkward initially, but stick with it—this drill forces you to focus on the ball and sharpens your overall fielding touch.
A word of caution: Start with soft tosses—no need to risk any broken fingers. As you get more comfortable, gradually increase the speed and difficulty of the grounders.
4. Footwork Ladder: Dance Your Way to Better Defense
Have you ever watched football players do those footwork drills?
Infielders could learn a thing or two from them.
An agility ladder is a great tool for improving your positioning and quick movements on the field.
Set up an agility ladder (or draw one with chalk) and practice various footwork patterns.
You can try exercises like:
High knees: This involves jogging in place while lifting your knees as high as possible, ideally to hip height.
It’s great for improving leg strength, flexibility, and cardiovascular endurance.
Lateral Shuffles: In this drill, you move side-to-side in a quick, controlled manner, staying low in a squat position.
It’s perfect for enhancing lateral agility and improving footwork, which is crucial for fielding in baseball.
In-and-out footwork: For this drill, you start in a wide stance and then quickly move your feet together and back out again, alternating between the two positions.
Consistency is Key
It’s worth noting that these drills aren’t magical quick fixes; the real magic happens with consistent practice.
Even 15 minutes a day can lead to significant improvements over time.
Your commitment to regular practice will truly elevate your game.

5. Self-Toss Fly Balls: Become a Tracking Wizard
We all admire the outfielder who can effortlessly glide under a towering fly ball.
That skill isn’t just a natural talent—it’s the result of practice.
The self-toss fly ball drill is your ticket to mastering this crucial skill.
Here’s how it works:
🏟️Find an open field.
⚾️Toss the ball high into the air.
🧢Hustle to get under it
It may seem tedious, but here’s the trick—vary your tosses.
Send the ball straight up, over your shoulder, or to the side.
Mixing it up helps improve your ability to read the ball off the bat and navigate different routes.
- Pro Tip: Embrace windy days as a challenge.
- Those unpredictable gusts will prepare you for the game-day curveballs Mother Nature might throw.
6. Long Toss against a Wall: Unleash Your Inner Cannon
Who says you need a partner to work on your throwing arm?
With just a sturdy wall and a bucket of balls, you can build the arm strength to make base runners think twice.
Start by standing about 30 feet from the wall and gradually increase your distance.
Focus on maintaining a strong, accurate throw as you move further back.
It’s not just about increasing distance—accuracy is key.
Aim for a specific spot on the wall with each throw.
Pro Tip: Pay attention to your form and follow through to maximize power and precision.

7. Drop Step Drill: Master the Art of the Deep Ball
Imagine the crack of the bat and the line drive to the gap.
How quickly can you turn and sprint to make the play?
The drop-step drill will come in handy in tracking down those fly balls, starting with mastering that crucial first movement.
For this drill, face the infield with your feet shoulder-width apart and your knees slightly bent.
At the crack of the bat, drop and step to either your right or left, depending on where the ball is hit.
To simulate the drill, place balls at various distances behind you and practice your drop step to each one.
While it’s different from reacting to a live hit, this drill will significantly improve your footwork and reaction time.
Pro Tip: Focus on smooth, quick movements and keep your knees slightly bent to maintain balance throughout the drill.
- Tracking Progress: Record your practice sessions to analyze your technique and measure improvements over time.

8. Crow Hop Practice: The Secret to Rocket Throws
Want to add some serious zip to your throws?
Try the Crow Hop Drill. Love that name!
This drill teaches you how to transfer momentum from your legs through your body and into your throw, boosting both power and accuracy.
Here’s how it works:
Find an open area with enough space to throw.
Start by standing with your feet shoulder-width apart, knees slightly bent, and weight evenly distributed.
Hold the baseball in your throwing hand, ready to throw.
Step forward with the foot opposite your throwing arm, placing it slightly ahead of your throwing foot.
This sets you up for the next phase of the motion.
As you prepare to throw, shift your weight onto your back foot (the foot closest to the plate).
This sets the foundation for an explosive movement.
Use your back foot to push off the ground, creating a slight hop or jump forward.
This explosive hop helps transfer momentum from your lower body into your throw.
Upon landing on your front foot, rotate your hips and shoulders while bringing your throwing arm forward.
Follow through with your throw, ensuring you fully extend your arm and finish with a strong follow-through.
Throughout the entire drill, maintaining balance is key.
This will ensure a smooth weight transition from your back foot to your front foot, allowing for a more efficient and powerful throw.
Pro Tip: Practice the Crow Hop, focusing on explosiveness and fluidity to maximize the power and accuracy of your throws.

9. Target Practice: Bullseye Bonanza
Who needs a catcher when you have a target?
Grab a strike zone target (or get creative with some tape on a fence) and channel your inner Paul Skenes.
This drill is all about sharpening your precision and consistency.
Here’s how to do it:
Set up your target in the strike zone area.
Start throwing and aim for different parts of the strike zone—low and away, high and tight, and right down the middle.
Challenge yourself to hit the same spot multiple times—three, five, or even ten times.
Pro Tip: Use different-colored markers on your target for different pitches: blue for fastballs, red for breaking balls, and green for changeups.
These visual cues help reinforce the mental connection between pitch type and location, improving your pitch accuracy.
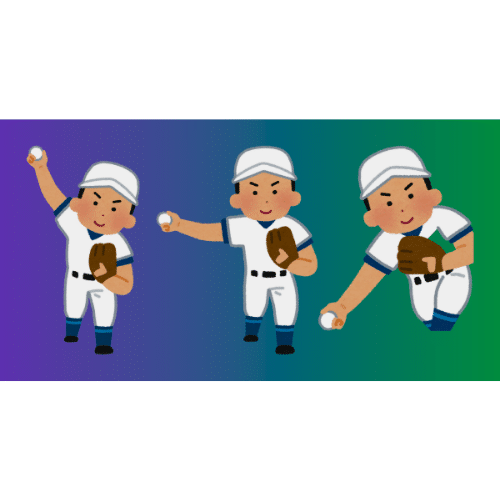
10. Towel Drill: Mechanics Made Easy
No ball? No problem!
The towel drill is a pitcher’s secret weapon for perfecting mechanics without straining the arm.
It’s also perfect for those days when you’re stuck inside.
The towel drill is an effective exercise to refine your throwing mechanics and develop a more efficient arm path.
Here’s how to do it:
Fold or roll a small towel and hold it in your throwing hand, letting it extend beyond your fingers.
Start in your normal pitching stance with your front foot aligned with your target (a wall or a catcher). Keep your glove up and your throwing hand (holding the towel) relaxed.
Begin your pitching motion by going through your usual wind-up. As you stride forward, bring your throwing arm back and up into the “cocked” position.
As you drive your body forward, extend your throwing arm, simulating a throwing motion. The goal is for the towel to “whip” against the intended target area at the correct release point.
Complete your pitching motion with a proper follow-through, ensuring your body and arm move fluidly toward the target.
Key Points:
- Arm Path: Focus on a smooth, natural arm path to avoid unnecessary strain.
- Body Alignment: To ensure proper mechanics, keep your body aligned with the target throughout the motion.
- Release Point: The towel should “whip” at the correct release point, helping you understand where to release the ball.
Pro Tip: Use a mirror or record yourself to check your mechanics and adjust as needed.

Frequently Asked Questions
What are the best solo drills?
Depends on what you are looking to improve on. For example, Towel Drills improve throwing mechanics.
Wall Ball Drills help with your fielding and reaction time. Crow Hop Drill improves your throwing power and accuracy.
How can I stay motivated during solo training?
Set realistic goals, track your progress, and vary your drills to keep things interesting
How can I improve my glove work?
Practice fielding ground balls against a wall, focusing on your glove placement and quick hands
Can I practice baseball alone without equipment?
Yes, many solo drills require no equipment at all!
You can practice your footwork, agility, and reaction time by doing drills like lateral shuffles, high knees, or quick feet.
The Towel drill requires only a towel.
How often should I do solo baseball drills?
Ideally, practicing solo drills 3-4 times a week is a great starting point.
This frequency allows you to build skills without overtraining.
How can I make my solo training more effective?
Focus on drills that isolate specific skills, utilize available equipment, and prioritize repetition and proper form.
Conclusion
There you have it.
Ten solo baseball drills that might just turn your individual practice into a home run!
The key to mastering these exercises is consistency and focus.
Incorporating these drills into your routine will enhance your hitting, fielding, pitching, and overall game awareness.
So, when you next step onto the field with your team, you’ll bring a new level of skill and confidence.
Don’t just play the game—own it!
Grab that bat, glove, or ball, and start practicing. The only thing standing between you and baseball’s greatness is the effort you put in. Play ball!
